Jun 01-2025
Adhesive Tin Tie Closure for Coffee Bags: Design and Functional Analysis from a Practical Perspective
READ MORE >

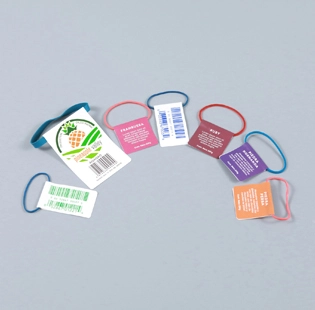
A label tie must do more than simply hold a tag in place. The tag hole, the tie's structure, and the product attachment point need to work together during installation.
This article explains the practical attachment process: how to prepare the tag and product, confirm the connection point, complete the installation, and check the finished result. It does not cover how to choose a label tie product.
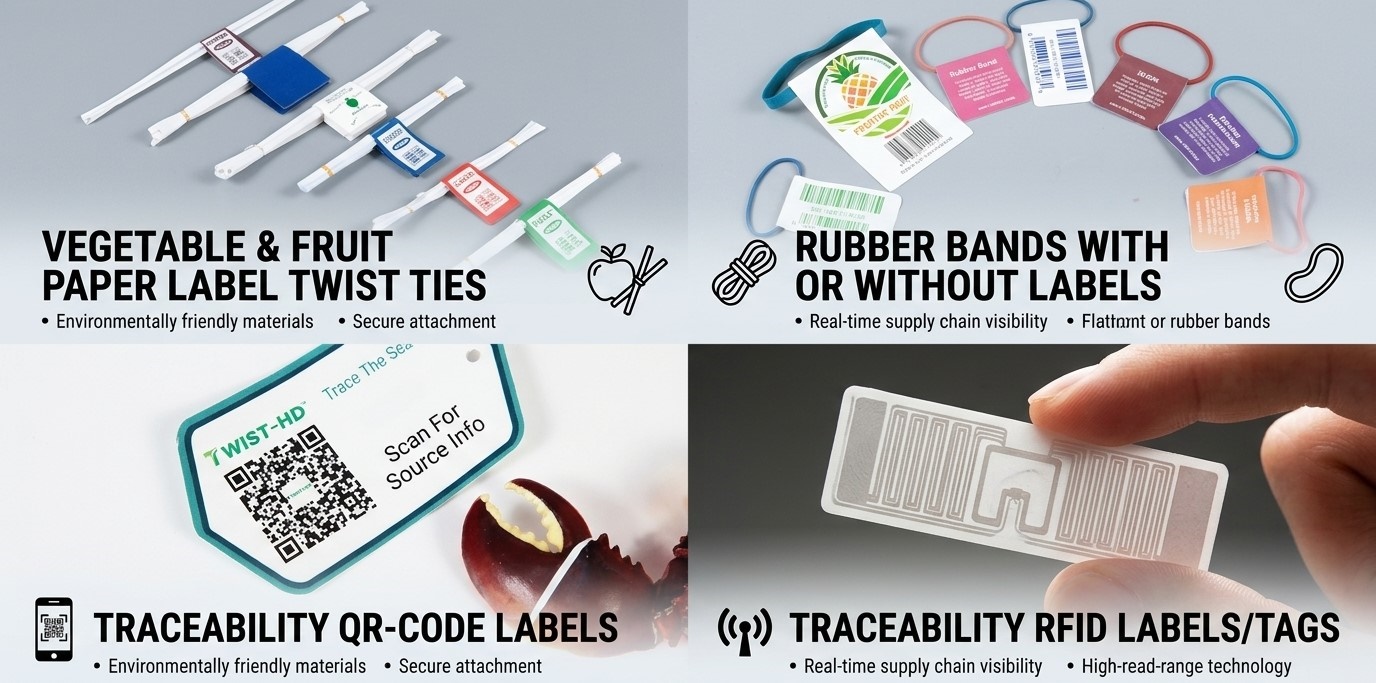
Before threading the tie, inspect the tag hole. Confirm its position and size, and make sure the tie can pass through without being forced.
Check whether the hole is too close to the tag edge, as this may cause tearing or distortion during connection. Also consider whether the tag material and the area around the hole can tolerate the pull applied during installation.
Do not focus only on the overall dimensions of the tag while ignoring the actual connection hole. A tag may be the right size for the product but still have a hole that is poorly positioned for the intended attachment.
Before connecting the tie, make sure both the tag and the product are ready for the attachment step.
The tag should already be in its final usable state, including any printing or finishing that could affect the hole or tag surface. If further handling or packaging steps are planned, consider whether they could interfere with the completed connection.
Also check whether any part of the product or its packaging could cover the tag after installation. A tag that is readable during attachment may become obscured once the product is packaged, displayed, or handled.
Confirm exactly where on the product the tag will be connected. The attachment point should not interfere with normal product use, packaging, or display.
It also needs enough space for the tie to pass through or wrap around. Check that the connection area is easy to reach and that the product structure does not make the attachment unnecessarily difficult.
Consider how the connection point behaves during normal use. If it moves, changes position, or allows the tie to slide, the tag may turn or shift after installation. Different products can have different shapes, thicknesses, and available clearance, so these points should be checked against the actual product.
First, pass the label tie through the tag hole. Then guide the other end around or through the product's connection point according to the actual structure of the tie.
Follow the fastening method designed for the specific label tie being used. Label ties may use different connection or locking structures, so the installation method should match the actual product rather than assuming that every tie is secured in the same way.
Before completing the fastening step, check the tag's front and back orientation and its reading direction. It is easy to focus on threading the tie and only notice afterward that the tag faces the wrong way or sits at an awkward angle.
While the tie is still adjustable, observe whether the tag rotates easily or tends to settle in a position where it cannot be read clearly. If the product has more than one possible connection point, compare the available positions to see which one provides the clearest display.
After securing the tie, confirm that the tag faces the intended direction and that the tie is not obviously loose. Also check for unnecessary tension, pressure, or deformation around the tag hole or product connection point.
If the tag shifts out of position or the tie pulls against the product unnecessarily, adjust the connection before proceeding.
Even a careful installation can produce issues that only become visible after the connection is complete. The following problems are worth checking directly.
The tag turns or faces the wrong direction. Check the relationship between the tag hole position and the product connection point. If the hole sits off-center or the connection point pulls the tag sideways, the tag may rotate away from the intended viewing position. Adjust the connection or test a different attachment point where available.
The tie slides along the product. Check whether the connection position naturally limits movement. A smooth or tapered surface may allow the tie to shift during handling, causing the tag to move from its intended position. If sliding is noticeable, check whether another connection point provides a more stable position.
The tag becomes hidden after attachment. Place the product in its normal display or use position and confirm that the tag remains visible. A tag that looks fine during installation may become hidden behind a fold, handle, or part of the packaging once the product is moved or positioned normally.
The tag hole shows signs of stress. If the area around the hole stretches, tears, or deforms during connection, stop forcing the tie. Recheck the hole position, the material around the hole, and the way the tie is being passed through. Continuing to pull may further damage the tag.
After installation, inspect the completed connection:
Whether the tag can be displayed and read normally.
Whether the tie shows obvious looseness or has shifted from its intended position.
Whether the tag is easily hidden by the product structure.
Whether the connection affects product packaging, transport, or normal use.
Whether the tag remains in place when the product is gently handled or moved as expected during normal use.
This final check can identify obvious shifting or obscuring that may occur during expected handling. If any point raises concern, adjust the connection or test a physical sample before full application.
A label tie should not be judged in isolation. The tag hole, the product attachment point, and the way the finished product will be handled all need to be considered together.
For a new product or tag design, a physical sample test is often more reliable than judging by dimensions alone. It allows you to see how the tie passes through the hole, how it sits against the product, and whether the tag remains readable after attachment.
A successful label tie connection depends on checking the tag, the product attachment point, and the completed installation together.
When the connection looks uncertain, testing a physical sample before full application is a practical way to verify the attachment method and identify potential positioning problems before wider use.
If you wish to purchase relevant products, please contact us.